Use Google Docs to Create an Online Scrapbook.
Creating a Google Account
Scrapbooks are fun ways to keep track of major events, remember special occasions or just create a cool way to store your pictures. Google Documents makes this easy with their scrapbook album templates. It’s a way to be creative, without all the mess from glue and stickers.
First things first, you need to create a Google account. This way, Google will automatically save all your projects in one area.
To learn how to create your first Google Docs account, read Google Docs: Creating an Account by Jerri Ledford.
Once this is done, you can start creating your own flier by following these directions.
- Go to https://docs.google.com/templates.
- In the Search Templates search box, type in scrapbook.
- Select the scrapbook template that you would like to use.
Making Your Scrapbook
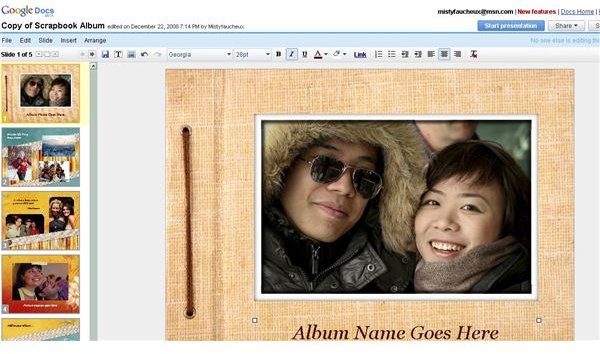
If you would like to see what the template looks like before you use it, simply click Preview, and this will allow you to see whether or not this particular template is right for your purposes. Once, however, you do decide on a template, click Use this Template to start editing it.
To start editing your template, click on the text box, and name your album. Then save your album with this name. That way, you
always know which album corresponds to which event.
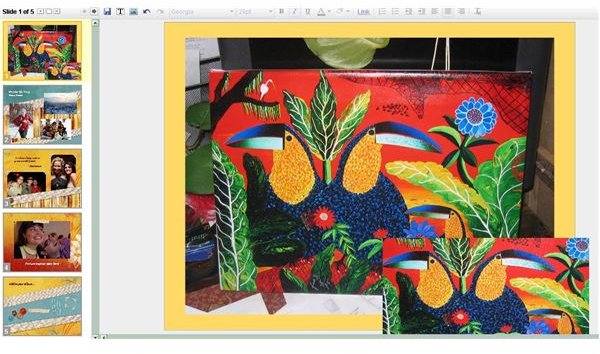
To change your pictures, do the following.
- Select the preexisting picture.
- Go to Insert, then Image.
- Browse your pictures, and select the one that you want to use.
- Click Insert.
- To resize the image, click on one of the white squares, and stretch or minimize it to the correct size. (Note: The picture should stay within the size of the preexisting image box.)
To add slides to your presentation, simply go to the top, and click Slide, New Slide. You can also duplicate slides, by clicking duplicate. This could be helpful if you want the format from the page that you are working on to be the same as the next page.
Whatever you do, have fun with your scrapbook. You can change the theme of your background by clicking Edit, Change Theme. You can also change the color of your background in the same area.
Just like in a real scrapbook, overlap pictures and arrange them by going to Arrange, Send Backward to make one of your pictures a background.
If you decide to share your album with others, you can either share it via Email or invite others to view it in the Share button on the right-hand corner.