This article gives step-by-step instructions on how to effectively use Google Sketchup 6 to make incredible models and projects.
Let’s get started
This article will give you a step-by-step guide to making a project on Google Sketchup 6. I am going to show you how simple it is to use this program for creating high quality photorealistic images. The first thing I need you to do is to download and install a free copy of Sketchup 6 HERE .
The Canvas
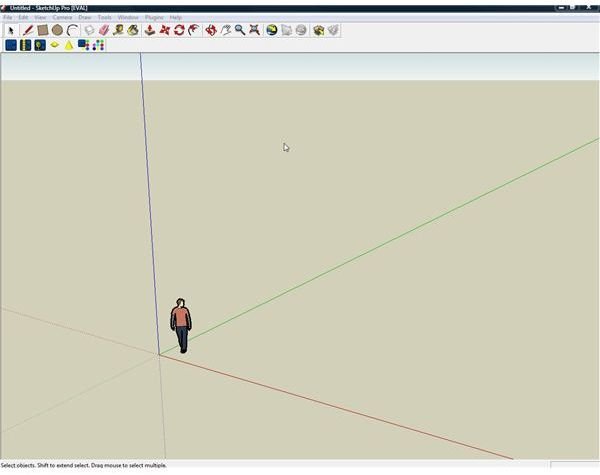
The first thing you see when you open this program is the canvas. This is where you will create your image. When you first open this program, you will see an image of a person and the X,Y,Z coordinates which represent Length, Width and Height. This is set up so you can get oriented as to how things look. For this lesson, let’s create a dorm room.
The Tools
The first thing you need to know is what tools you are going to be working with. The tools displayed on the top of the screen are simple to use and allow you great flexibility. For this exercise, we are going to use the

following tools:
Arrow: This is your selector tool. It will allow you to select objects without manipulating them.
Pencil: This allows you to draw features in your model. Think of it as your cookie cutter.
Shapes: The two shapes displayed are the square and circle. It’s amazing what you can do with just those two shapes.
Push/Pull: An ingenious way to bring objects into 3 dimensional space. This tool looks like a box with a red arrow pointing up.
Move/Copy: Allows us to manipulate and flip objects. It looks like two red arrows crossing each other.
Orbit: Allows you to change how you view the canvas. It looks like dual arrows crossing each other and is next to the tool that looks like a hand.
Hand: Allows you to move the canvas sideways, forward and back.
Zoom: Allows you move closer and farther away, although you can also use the scroll button on your mouse to achieve the same result. It looks like a magnifying glass.
Creating 3D
Now that we know what our tools are and how to use them, let’s start creating some basic shapes.
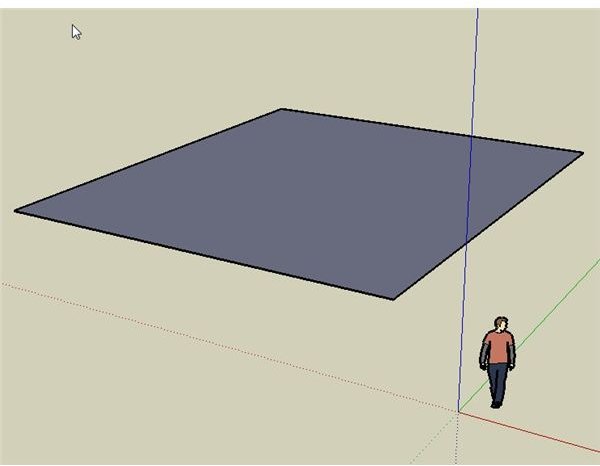
Creating the shell: Take the Square Tool and select any point in the canvas. While clicking and holding the mouse button down, drag the mouse across the canvas to create a square. As you drag, you will see a thin outline of what the square will look like. It should look like figure 1 when you are done.
Now using the same Square Tool, I want you to draw another square inside of the square that you see in the picture. Draw it really close to the other square. This will create the walls of our dorm room. Look at figure 2 to see what it should look like. You should now have two squares, one inside the other. Here is where the magic starts.
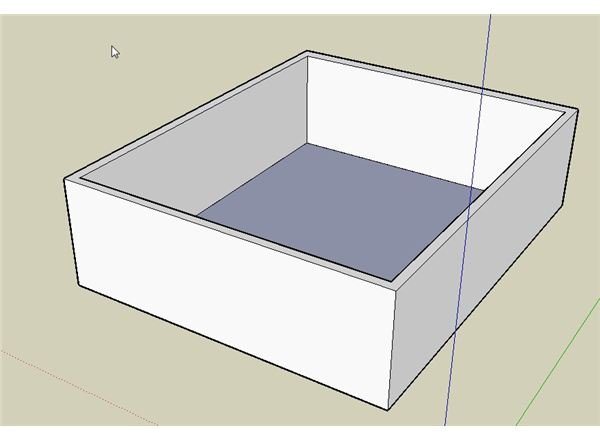
Now select the Push/Pull Tool and hover it over the small space between the two squares. As you move the tool over different areas, you will see that they are highlighted. Move the tool until you see the space between the two boxes become highlighted. Now hold down the mouse button and drag the square upwards into 3 dimensional space.If done correctly, it should look like figure 4.

Adding more rooms
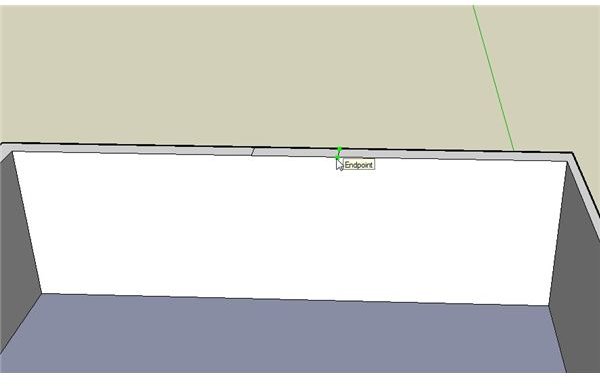
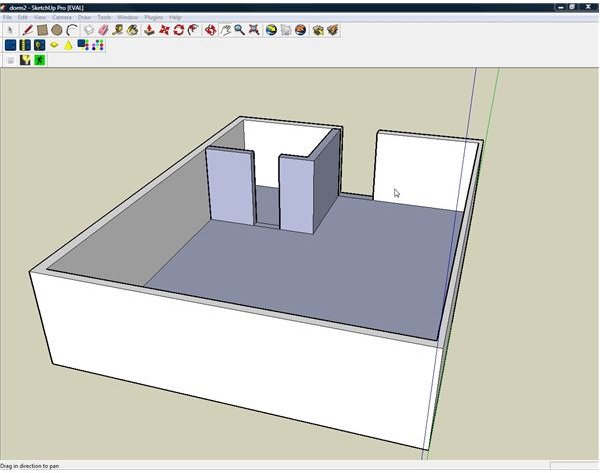
Now that we have the basic outside shell of the dorm room, we are going to add a space for a bathroom, doors and windows. Here is where your Pencil Tool comes in. To make a space for the door, take the Pencil Tool and make two lines about the width of a door on the top of the wall, evenly spaced. See figure 5.
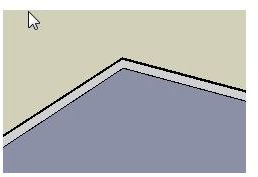
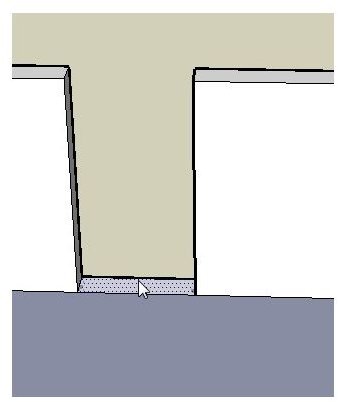
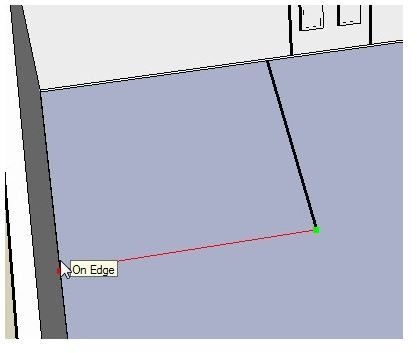
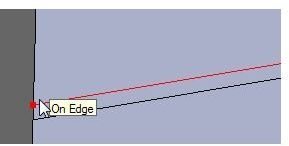
Use the Push/Pull Tool to push down that section of the wall into the floor. The result should look like figure 6. To make the bathroom, take the same Pencil Tool and draw a line on the floor from the edge of the door about 1/3 of the way through the room and stop. From that point, draw another line turning 90 degrees and end it on the opposing wall. See figure 7 and 7a. Make another set of lines next to the first set and we will finish our bathroom wall. Now using the Push/Pull Tool, lift up the new walls until they match in size with the height of the room.
We want to create a door to the bathroom or the students that are going to live here are not going to be too happy. Using the same technique we used for the outside wall, use the pencil tool to cut out the outline for the door and using the push/pull tool, bring it down. Your room probably won’t look exactly like this but looking at figure 8 should give you a general idea of where we should be right now.
So far, we have made the outside walls of our dorm room, a space for a bathroom and gaps where we are going to place doors. In the next article we are going to show you how to add doors, furniture and textures to your room. I hope that this article has helped you understand just how you how simple it is to use Sketchup.
To continue to the next article, click here. If you are interested in just how far this program can take you, I wrote a full review on this program HERE .
This post is part of the series: Google Sketchup 6: How to use it to create amazing 3D images.
This series covers how to make a dorm room in Sketchup. It will give you step by step directions on how to make structures, fill the room with objects, manipulate and render images.


