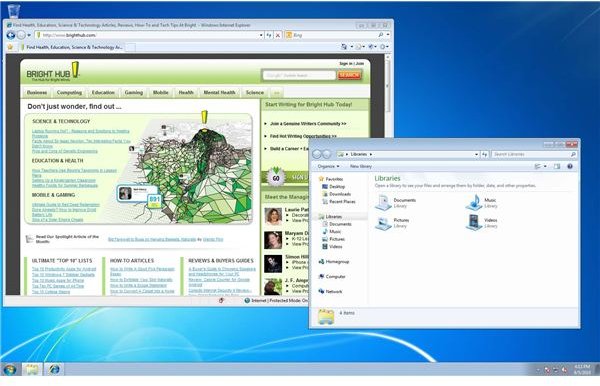
Windows Classic Desktop for Windows 7 Classic Start Menu With Aero For Windows 7
The Windows Classic Desktop for Windows 7
The look of Windows has changed quite a bit over the years, especially with the addition of Aero and the new taskbar. While the changes to the interface have overall been well-received, there are some people who back to how Windows used to look.
There are plenty of reasons to want to go back to the Classic Windows look. Among those reasons may be wanting to ditch Aero’s eye-candy and save system resources, simply preferring the aesthetic of the older versions, or just wanting to keep things simple and familiar. If you’re one of the people who want to make Windows look like it did before the release of XP, you can. Read on to find out how you can change to a Windows Classic desktop for Windows 7.
Changing Settings within Windows 7
The first and easiest step in your desktop conversion is to change the theme from Windows 7 Aero to Windows Classic. To do this, right-click an empty area anywhere on your desktop and select “Personalize” from the context menu. A grid of available Windows 7 themes will appear. Scroll down to the section titled “Basic and High Contrast Themes”. Listed will be “Windows Classic”, click on it and Windows will take a second to apply the theme. You desktop should now already be looking a lot like classic Windows. The next step is to change the taskbar.
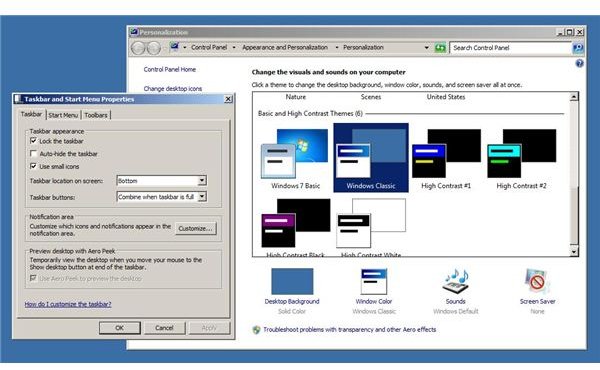
To change the taskbar, start by right-clicking on an empty space on the taskbar and selecting “Properties” from the context menu. A “Taskbar and Start Menu Properties” window will appear. You’ll want to do two things here under the “Taskbar” tab. The first thing to do is enable “Use small icons”, in order to give the taskbar its older slim look. Next, go to the Taskbar buttons drop-down menu on the same tab. By default it is set to “Always combine, hide labels”. Change it to either “Combine when taskbar is full” or “Never combine”, whichever your prefer. Either option will change the window manager on the taskbar to the classic style. Hit the Apply button to make the changes and then it OK to close that window.
Now on to a noticeable feature on the taskbar missing in Windows 7, the Quick Launch bar that was introduced in Windows 98. If you find yourself missing that feature, you can get the Quick Launch toolbar in Windows 7 in a few easy steps by following this tutorial without the need for third party software.
Further Steps
You’ve already changed the look of the Windows 7 desktop to resemble Windows classic. However, the Start menu still resembles Windows 7’s and some applications are still missing features from older versions that were removed, like Explorer’s “Up One Level Button”. These things cannot be changed through features built into Windows 7. Fortunately, those things can sometimes be changed with other shell utilities.
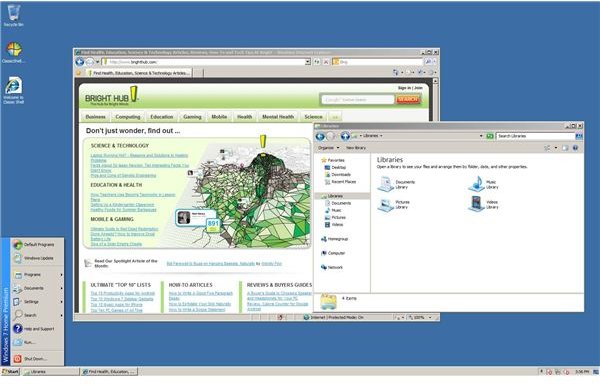
The last thing to do in your conversion is to get the classic start menu and restore those missing classic features to Windows Explorer. The best and simplest free method of doing this is through a program called Classic Shell. Download, run, and install the latest version of Classic Shell and you’re done. The classic start menu should now be in place of the Windows 7 start menu, along with some familiar features in Windows Explorer that were missing. If you’d like to fine-tune the features just added, go to the Classic Shell entry located under Programs in the Start menu, which contains programs to adjust Explorer and Start Menu settings.
It’s possible to do any combination of these desktop changes. For example, if you only want a classic start menu with Aero for Windows 7, you can just install Classic Shell and skip changing the theme. Enjoy your classic desktop.