How To Remove Windows 7 and Do a Fresh Install
Windows 7 Reinstall Intro
By default, Windows 7 gives you some easy options for doing a full reinstall of the operating system, should you have a need to remove the Windows 7 installation and start fresh. Before learning how to do a clean install of Windows 7, it is very important that you backup your files and data, because a clean install will essentially wipe your hard drive. After the Windows 7 fresh install completes, your PC will be just like it was when your first got it. After you have learned how to remove Windows 7, you can go ahead and reinstall, or install another operating system.
Backing Up Your Windows 7 Data
There are different methods that you can use to backup your Windows 7 files and data. One method may be more efficient than another, depending on how you want to backup your data, and how many files you are backing up.
- Copy your important files and data to an external hard drive.
- Copy your files to a USB flash drive.
- Burn your files to a CD or DVD disc (recommended for low amounts of files and data).
- Use the Windows 7 Backup and Restore utility, accessible at Start > Control Panel > Backup and Restore.
- Use an online backup program to backup your Windows 7 files and data.
- Use a specialty Windows 7 backup software such as Acronis.
For the most part, backing up the files and data on your current Windows 7 install is a pretty straightforward process. Once you have all of your important data saved, you can get started learning how to do a fresh install of Windows 7.
Step 1 - Locate Your Windows 7 Operating System Install Disc

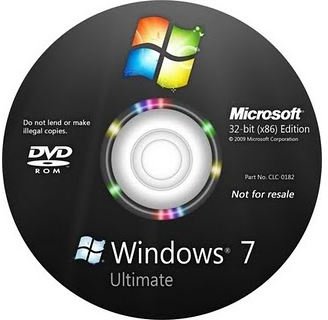
To get started, locate your Windows 7 operating system install disc. If you purchased a retail copy of Windows 7, this will be the separate Windows 7 disc that you bought. It should either be an upgrade disc or a full version disc. If you purchased a PC that came with Windows 7, you need to look for the system DVD that came with your computer, which would be labeled something like Dell, HP, Gateway, etc… Finally, you may be using a USB flash drive to install Windows 7. If this is the case, simply locate and have ready the USB flash drive.
If for any reason you don’t have a Windows 7 disc, you can learn how to burn Windows 7 to DVD.
Step 2 - Prepare Your PC
Make sure that your PC is powered on and you are logged into Windows. Exit and save any programs that are open, and make sure that absolutely nothing is running. After you have done so, insert your Windows 7 operating system disc into your computer’s CD/DVD drive, or insert your Windows 7 USB flash drive into an available USB slot.
Upon doing so, Windows should automatically detect the media and run it, but if not, you will need to navigate to Start > Computer and launch the install disc or flash drive from there.
That’s all there is for part 1 of our series. Be sure to continue on to part 2, where we will get started on erasing the old version of Windows 7, and reinstalling the new version of Windows 7.
This post is part of the series: Windows 7 Reinstall Guide
This in-depth, three part series focuses on the concept of backing up your files, erasing Windows 7 from your PC, formatting the hard drive, and reinstalling Windows 7. There are a couple of ways that you can go about a clean install of Windows 7, but this method is the easiest and most effective.
