The digital home is a reality for many of us. So a central location to be able to store and access files and media would help us all. Learn how to build a home server and configure it here. It doesn’t cost as much time and money as you might think.
Up & Running with Windows Home Server
Data is cheap, and so is storage in todays climate. We seem to hoard files, folders, movies and pictures like never before, especially now that we have somewhere to keep them. For those users who want a little more out of their storage options and are bored with NAS or external drives, Microsoft’s Windows Home Server (WHS) offers that little bit more.
If you have ever lost a file or a hard drive you know how frustrating it is to lose something. A backup routine is an essential maintenance task for anyone who uses their computer seriously or for something other than games.
Windows Home Server is built on Server 2003, which was a stable and relatively trouble free version of the operating system. It is also pretty light on its hardware requirements, which is good news. It means builders can either use older hardware or not have to spend so much getting cutting (bleeding) edge stuff. The whole point of the WHS is to move data around, so you won’t need massive RAM or a quad-core processor to keep that working.
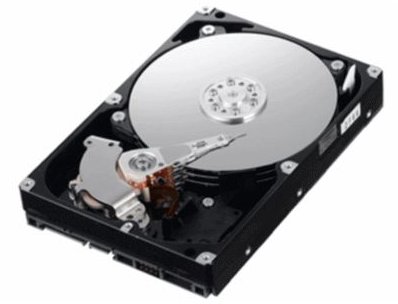
The minimum specs I suggest for running a WHS is a decent motherboard with onboard graphics and a Gigabit LAN port. Like all of the hardware needed, it just needs to be efficient, not cutting edge. A processor like a Core 2 Duo E4500 would be ideal for this kind of project. Not the newest or fastest, but plenty fast enough for our purposes. RAM is up to you, just get some that matches the fastest bus speed on the motherboard. WHS will run on 512Mb of it, so no need to get loads otherwise it’s just overkill. Hard drives are down to personal choice. You can either go for low power ones like the Western Digital Green Power ones, or just get a normal drive. The capacity is again down to choice, generally the largest you can afford will offset the need to replace it the longest.
Creating the Server
The software itself is OEM only, which means it isn’t officially available retail. There are some vendors who will sell you a copy if you buy another piece of hardware from them. I’m sure the enterprising among you will find a way of obtaining a copy.
With the other items like case, PSU and fans sorted, you’re ready to create the server. There isn’t a hard and fast rule about which order to put things together, but I find it easiest to start with the PSU. So add that to the case and tuck the cables out of the way somewhere. Then lay the motherboard down on a flat surface and insert the CPU into its socket. Not forgetting to add thermal compound if there isn’t some already there. Then add the CPU fan, and plug it in to the motherboard. Add the RAM, using dual channel if you have two sticks.
The motherboard is now ready to be inserted into the case. Ensure it is securely screwed to the case using the risers provided. Attach the PSU to the 12V rail on the motherboard and the case wires to the little sockets to the power, reset, HDD light and case speaker.
Now would be a good time to add any hard drives and a CD/DVD-Rom drive to install the software. You can either leave it connected or remove it once the software is installed.
Connect everything up internally and externally then fire up the machine to make sure everything works. If it does, close the case and insert the Windows Home Server setup disk. If it doesn’t, troubleshoot the install using the motherboard manual to interpret the beeps the motherboard emits when booted.
Your home server is now ready to have the WHS software installed. To learn how to do that, read my guide on Installing Wndows Home Server .


