If you want to make double use of your Play Station EyeToy, you can use it as a webcam by following these simple steps. It is only a matter of getting your hands on the right drivers and just a little bit of know how.
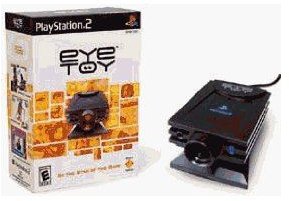
If you got an EyeToy when you bought a game like Kinetic for your Playstation 2 (or for your Playstation 3) then you probably know how many hours of fun it can give you. What many people do not know is that you can also use it as a webcam on your PC. If you want to let your EyeToy do double duty, then just follow these simple steps.
- Get your EyeToy and locate an extra USB port on your computer. Plug in the EyeToy. A bubble will appear on your screen with the “New Hardware installation wizard”; you want to close this or just ignore it. The wizard can’t help us here.
- Make your way to the device manager by following this series of clicks: - Start menu to - Control panel to - System to - Hardware to - Device manager
- You will now be in the device manager. If it is not already expanded so you can see the EyeToy click on the plus sign next to the words “Imaging Devices”. Now you should be able to see the EyeToy. There are two different types, the Logitech and the Namtai . (You will need to wait before the Namtai download starts.) Take a look at which one you have, as you will need to click on these links to get the right drivers.
- Open up your web browser and download the driver for your EyeToy: Logitech or Namtai.
- The drives are zip files. You need to extract them and note where you have saved the extracted file.
- Go back to the device manager and right click on your EyeToy’s entry. A new menu will appear and you can choose “update driver”, which is usually the top option.
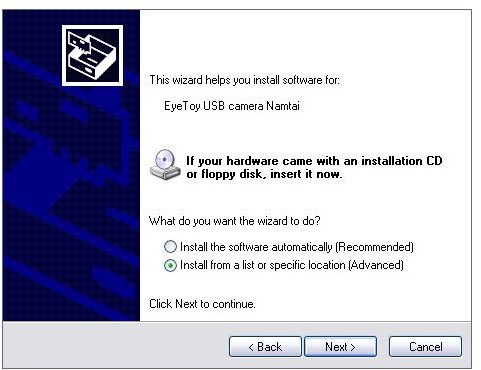
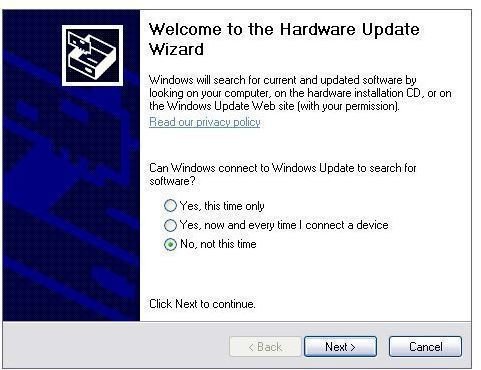
- The wizard will now open. It will begin to ask you questions. Choose “No, not at this time” when it asks if Windows can “connect to Windows update to search for software”, then click on next.
- On the next screen choose “install from a list or specific location” and then click “next”.
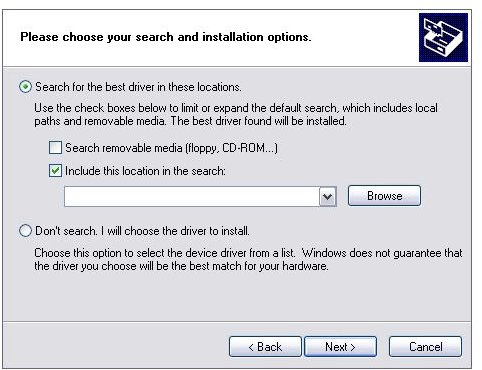
- A new screen will appear. Click on the radio button next to “search for the best driver in these locations”, and be sure that the box next to “include this location in the search” is checked. Now click on the “browse” button to find your uncompressed driver file. Then click “next”.
- You will get a warning message telling you that this software has not passed “Windows logo testing”. This is normal and, you should click “continue” anyway.
- Now you should get a pop up with “???” and an OK button, click on OK.
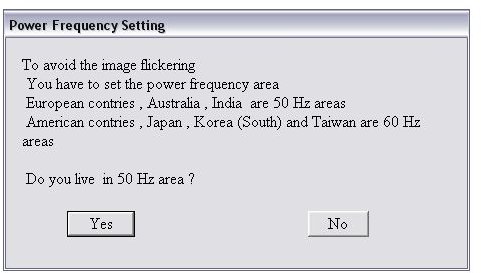
- Now you will get a power settings question. Answer it truthfully and you will be moved on to the final wizard page. Click on “finish”. Now you are done.
Those are the simple steps to installation. Now you are done, enjoy your web cam.
If you want to test the camera out before going online then you can use a preview app. If you used the drivers in this piece you will find a file called Vidcap 32 that will allow you to preview offline, or you could just fire up a video chat and see what happens.
Images