Microsoft Word Mail Merge Instructions
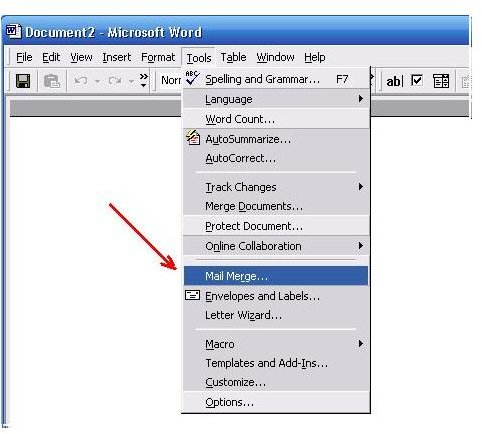
Open a blank document in MS Word. Click on the Tools button. Select Letters and Mailings from the dropdown menu, and then click Mail Merge. This will open the Mail Merge task pane.
Complete the checklist in the Mail Merge task pane. Use the buttons sequentially to navigate the mail merge process.
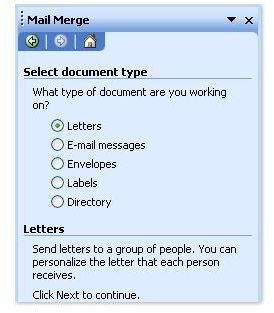
Select the type of document that you want to use for the mail merge. We will select Letter for the purposes of this tutorial.
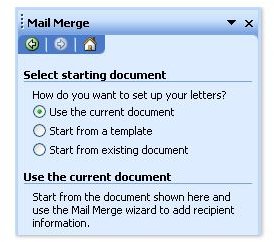
Select a starting document. This will serve as a template for all the merged documents you want to create. For our purposes, we will select the Use the current document option.
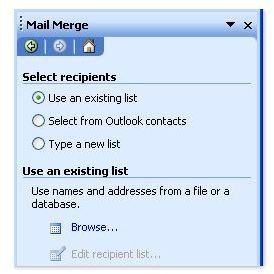
Connect your document to the data file that contains the names, mailing addresses and other information you want to use in the mail merge. You can select a data file using one of three options:
- Use an existing list such as an Access database or an Excel worksheet.
- Select from Outlook contacts for data in your Contacts folder.
- Type out a new list, which will be saved as a mailing database (.mdb) file.
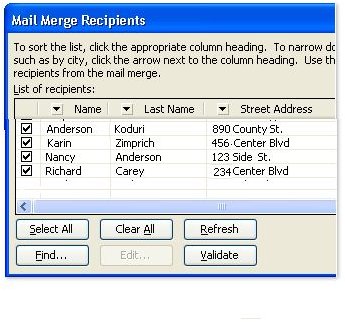
Once you connect to your desired data file, the Mail Merge Recipients dialog window will open. You can filter or sort the names, addresses and other data that is listed in this window.
Choose the subset of records you want to use for your mail merge.
- To exclude a record, clear the checkbox next to it.
- Use the Select All button to include all the records.
- Use the Clear All button to exclude all the records.
- Use the Find button to include all the records.
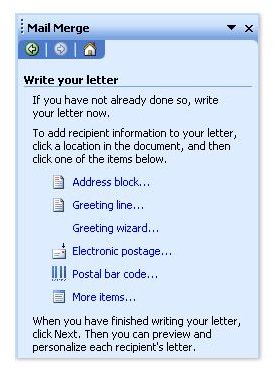
Use the links in the Mail Merge pane to add fields to your main document. Each of these fields serves as a placeholder for unique information such as a mailing address, personalized greeting or electronic postage.
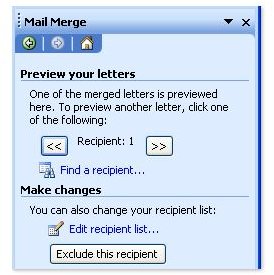
Preview your mail-merged document. Make any necessary edits and then click on Next at the bottom of the pane.
Save the completed document. If it is an email, then Word will email the mail-merged document to all recipients.