How to Share a Folder and Map a Network Drive to the Folder - Secure Windows Folder and File Mapping
Before You Share a Folder
In order to share a folder on a computer, you have to have a user on the computer that has the folder you wish to access. For security reasons if you are using Windows XP, you need to open up My Computer, Go to Tools, Folder Options, Click on View, scroll to the bottom of this window and uncheck ‘Use Simple File Sharing’. If you use simple file sharing, you will give the group ‘Everyone’ access to your files. Everyone means just that everyone! Everyone in the world!
Create a User on the Host Computer
In Windows, go to the Control Panel and Select Users in order to create a user. Determine the role of the user. Typically, the user will be just that, a user. A user cannot change settings in the host computer. This is important because it prevents the user from changing settings on the computer if they try to log in locally.
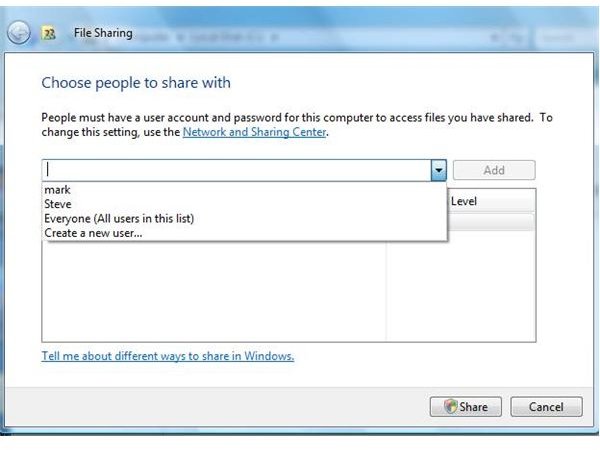
After creating a user, double click My Computer and find the folder that you wish to share. Right Click on the folder and select share. (Sharing and Security in Windows XP)
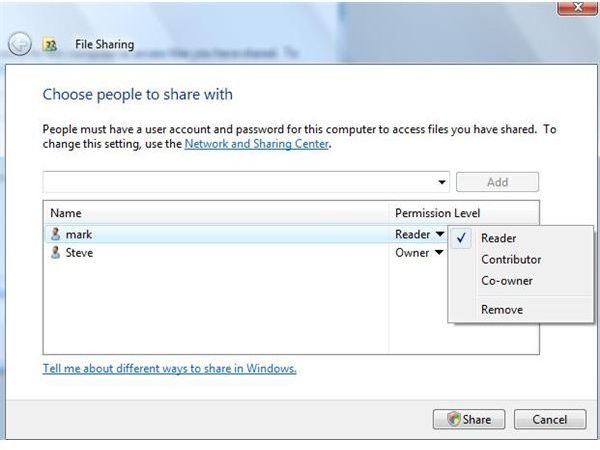
In Windows Vista (Shown in the pictures below), select the user, select the permissions and click finish.
The permissions are Reader, Contributor and Co-owner.
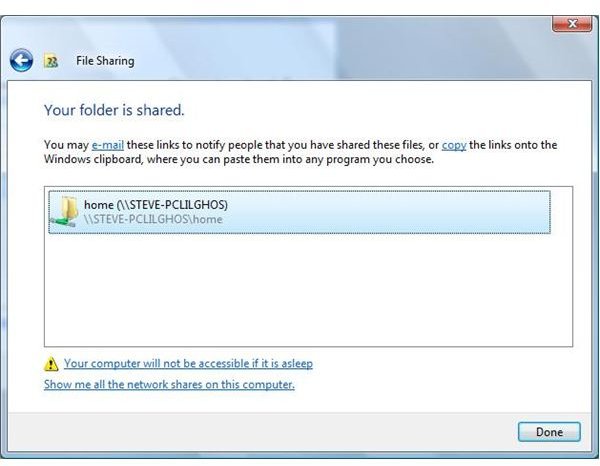
The folder is now shared and can be seen across your network.
To Access the Folder
To access the folder, go to the computer that wishes to use the other (host) computer’s folder.
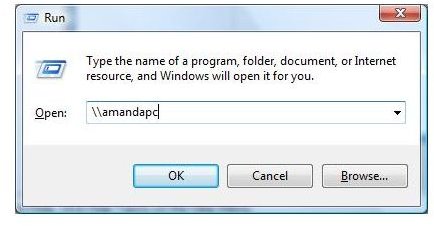
Go to Start
Go to Run and type the UNC path to the computer (user the computer’s name). Example: \\amandapc
Hit Enter
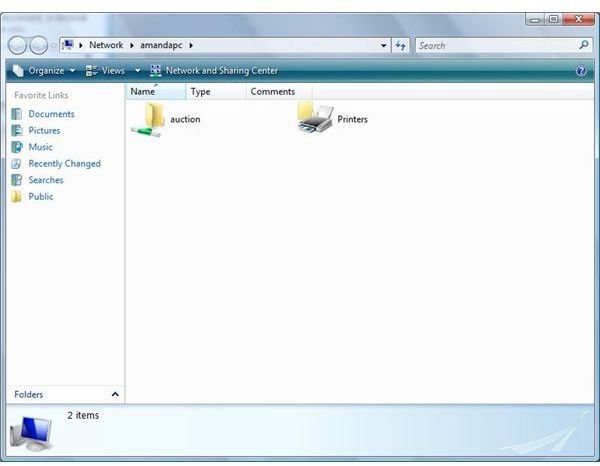
If you are prompted for a username and password, enter the information you put on the host computer. You will now see the shared folders. (see below)
Sharing Folders
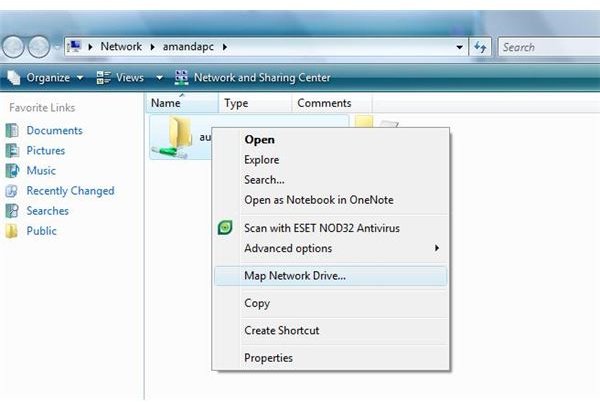
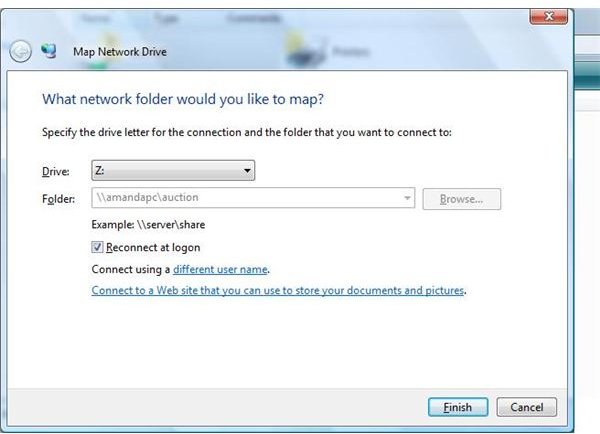
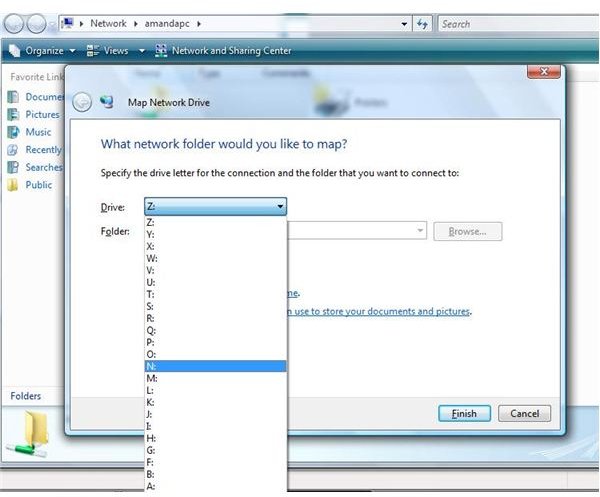
To Map the Drive
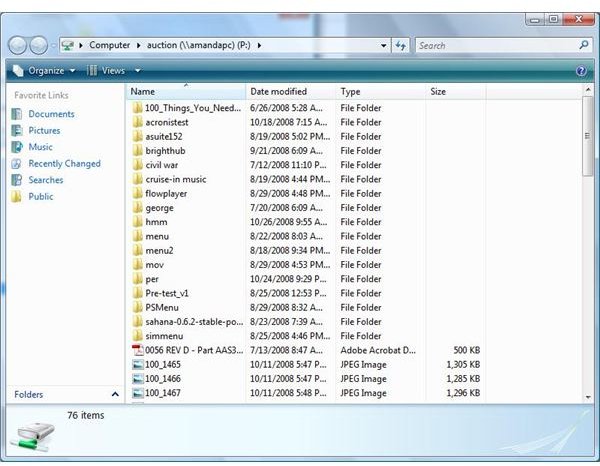
To map the drive as a drive letter on your computer, simply right click on the folder and select Map a Network Drive. Select a drive letter and click finish. The drive’s shared folder contents will open. If you close all of the windows, you can open the drive by double clicking on My Computer and click on your new drive letter.
Mapping a Drive
Mapping a Drive
Things to Remember
Security is very important. Anyone who accesses the client computer with the mapped drive with the user logged on, has a connection to the mapped drive. Use complex passwords and give only users access that you wish to have access. Never use Everyone.
The drive cannot be accessed if the host computer is asleep, is offline or reboots. If files are open on the guest computer and the host computer reboots, data loss can occur.