How to Customize the Quick Access Toolbar in Microsoft Word 2007
While there are certain commands in Microsoft Word 2007 that are used frequently by almost everyone, each of us has our own “personal” collection of tools that we commonly access when creating our documents. One very nice feature in Word is that you can develop your own custom Quick Access toolbar so that you don’t have to go hunting and searching for these commands every time you want to use them.
Customizing the Quick Access Toolbar
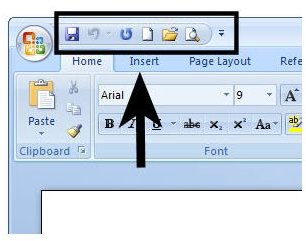
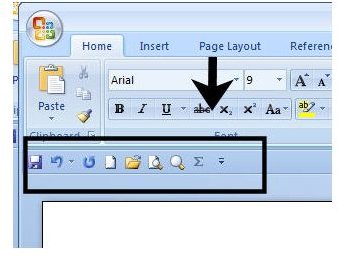
The Quick Access toolbar is located in the upper right-hand corner of Microsoft Word as shown in the screenshot below. (Click the image for a larger view.)
Aptly named, the Quick Access toolbar is a place where you can add shortcuts to commonly performed tasks. You don’t want to overboard in this area, of course, because then it becomes just another menu. However, adding a few commands that you most frequently use to the toolbar is a great way to save time and become more efficient when working in Microsoft Word.
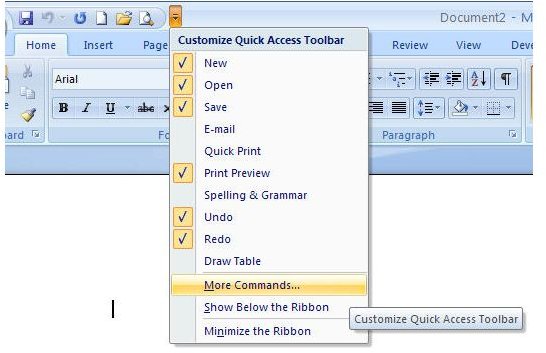
To modify this command list, click on the down arrow next to the toolbar, and select the More Commands option.
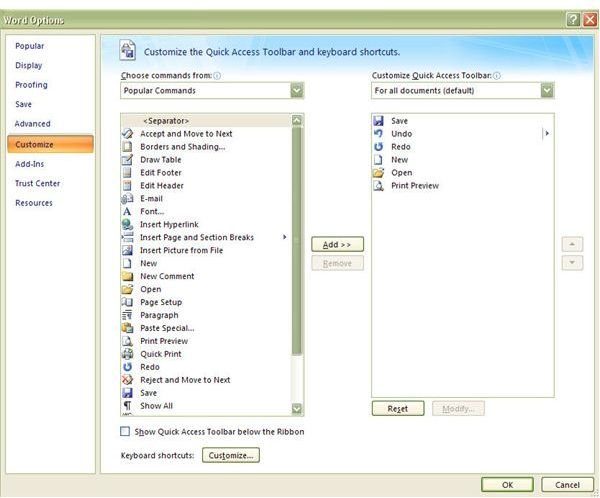
This will open the Word Options menu on the Customize tab. Here, you can scroll through available commands that can be added to the Quick Access toolbar and remove commands that you don’t want to see there.
If there are several special commands that you want to add, you may want to move the Quick Access toolbar to a place on your screen that will allow these objects to be more easily seen. To do this, put a check in the box next to Show Quick Access Toolbar below the Ribbon.
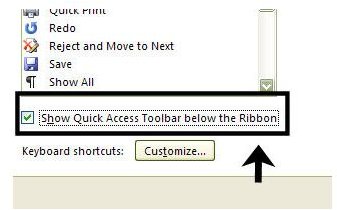
Not only will this option allow you to quickly be able to view more commands, the items will be closer to the typing area of your document, making them even more accessible.
When you’re finished making all of your changes in the Word Options menu, click OK to exit the window. You’ll be returned to the main Word screen with all of the selected modifications in place.
This post is part of the series: Personalizing Microsoft Word 2007 Documents
In addition to taking a look at ways the Microsoft Word 2007 application can be modified so that it’s easier for you to work in, we’ll also show how to create some custom items that will make your documents stand out in a crowd.