Using Outlook Web Access: Create Rule Guide
Sort Your OWA Messages with Rules
Wouldn’t it be great if the email you keep getting from a certain sender could be put away into a specific folder until you were ready to read it? Or if you could send an automatic reply to certain senders to confirm receipt of a message?
Thanks to rules in Microsoft Outlook, these things (and more) are possible to setup.
While creating rules on an Outlook email client might be pretty straightforward, it is a different case for Outlook Web Access. Creating rules here is just as easy, but thanks to the differences with the user interface it can be tricky to work out how to do it.
Note that there are several versions of Outlook Web Access available, and depending on the configuration of the web client these don’t necessarily have the rules option provided.
If you wish to setup rules in OWA, but find that there is no Rules option, you should speak to your technical support provider for assistance with this.
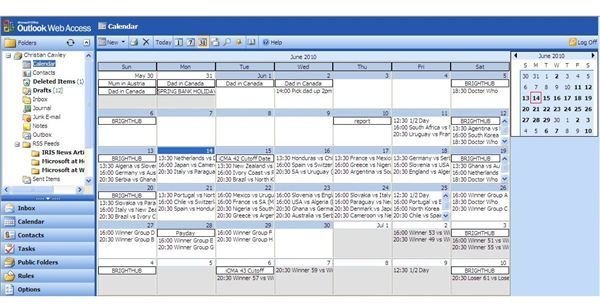
Screenshot by author
Create a Rule in Outlook Web Access to Forward Email
To create a rule in OWA for forwarding emails to another address, find and left-click the Rules button in the left-hand side of the window and then click New… in the toolbar.
Insert a name for the rule in the Rule Name box, and in the Where the From field contains field, enter the email address of the sender whose emails you wish to forward. If the messages you wish to forward have a specific subject line, then enter this in the Subject contains field. However note that subject lines might be altered by other senders, so it is best to build the rule around the senders.
Input your email address in the Forward it to field at the foot of the window and click Save and close to apply the rule. Future emails will then be forwarded to your chosen address!
Use Outlook Web Access Rules to Move Emails
You can also use rules in Outlook Web Access to move emails into specific folders using a similar method.
In the Rules view, click New… and name the rule (something like “move mail to folder” would be appropriate). It is important to name the rules as by adding more and more rules there is a chance that you might forget what each one does.
With the rule named, decide on how you are going to select the messages to move. If they are emails from a specific sender, enter their email address into the From field contains box and the use the Move it to the specified folder or Copy it to the specified folder options to select and specify a folder. Click the linked word specified to open a list of your email folders and select one of these, hit OK to confirm. Save and close the rule to apply it.
Auto-Delete Emails using OWA
If you’re receiving emails from a sender that you would rather not reply to, you might opt to automatically delete these messages. This is very easy to do: simply create a new rule, name it and add conditions such as the name of the sender or the subject of the message and then select Delete it. Save and close the rule and that’s it – you’ll never be troubled by messages from that email address again!
References
Author’s own experience
