Windows 7 – Using the Backup and Restore Center – Part 2

Overview
The Windows 7 Backup and Restore center has a few new features compared to versions past. Especially of note is the ability to create a system image – a snapshot in time of your entire hard drive. This is especially useful for when you have your computer working well with all of your applications installed and configured just the way you like. Should your hard drive die, you can load up the image and restore the entire system just as it was when the image was taken.
Using a combination of image based and file based backups is recommended. For example, take an image based backup after you finish configuring your computer or making any major changes. Then, perform regular file based backups until you make another significant change. Should you lose your hard drive, you can restore the point in time image and then restore any files that have been updated since the last image was taken.
This article will show you how to perform an image based backup as well as how to perform a restore from your image.
Performing Image-based Backups
- Open the Backup and Restore center by going to the Start menu and typing “backup”.
- Click the “Create a system image” link.
- Select a location where you’d like to save the image and click Next (Figure 1).
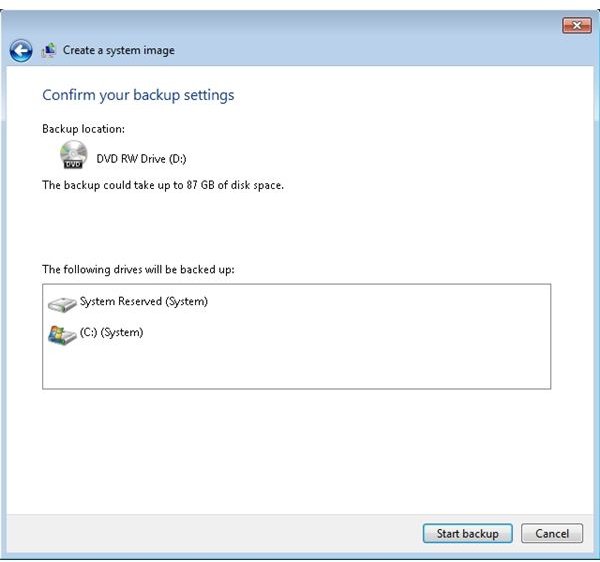
- Review the settings and pay particular attention to the amount of space required. Click Start Backup to begin the backup process. Note that the time required to backup could take several hours depending on the size of your hard drive (Figure 2).
Recovering the system using the Backup and Restore Center
- Open the Backup and Restore center by going to the Start menu and typing “backup”.
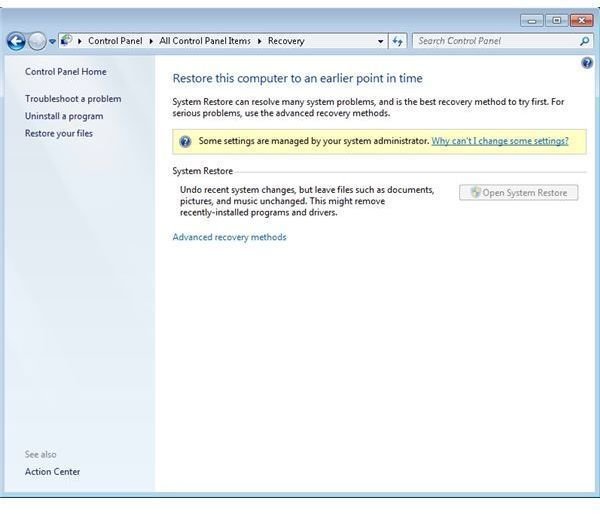
- Click the “Recover your system settings or your computer” link.
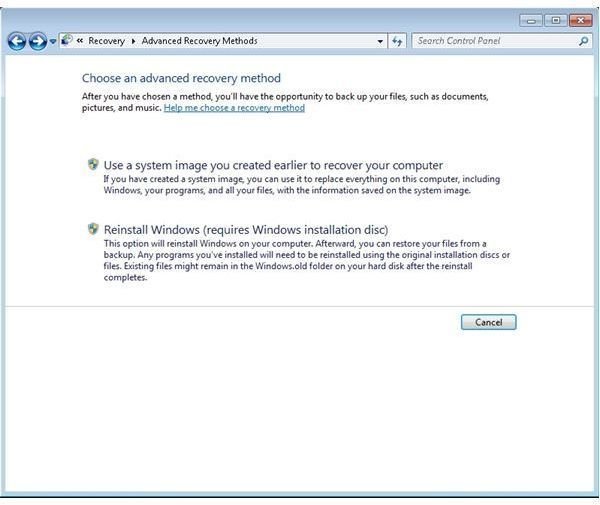
- Click on the “Advanced recovery methods” link (Figure 3).
- Click on the “Use a system image you created earlier to recover your computer” (Figure 4).
- You then have the option of backing up files or skipping this step.
- The next step is to reboot your computer. Be sure to have your recovery media (DVD, external hard drive, etc. available).
- Select the location of your recovery media and start the recovery.
After the recovery is finished, your computer will be restored back to the exact state it was in when the image was created.
Images
This post is part of the series: How to use Windows 7 Backup and Restore Center
This two part series will cover how to use the new Windows 7 Backup and Restore center. Part 1 discusses file based backup and recovery while part 2 discusses image based backup and recovery.