Increase the potential audience for your Final Cut Pro projects by adding subtitles using these step by step instructions.
Subtitles are a standard in film language as they are used to translate a film that is not in the native language of those will be viewing it in a certain situation, and as a secondary function subtitles are used to spell out what is being said when it is difficult for the audience to decode because of background noise. These subtitles then become a standard part of the language of the film, appearing on the screen in a way that does not dominate the frame but is easy for the audience to read without too much attention. Final Cut Pro is a complete and professional non-linear video editing program that includes all the features you need for most video post-production , including the addition of text on top of your video clips. Here is an easy tutorial on how to use the Final Cut Pro functions to inject subtitles into your film project.
Wait Till The End
What you want to start with is a completed sequence or film project that you suspect will not go through any more significant edits other than aesthetic changes. This is important because you are going to be generating another layer of video information and if clips are added, removed, extended, or shortened then it will immediately throw your subtitles out of sync, render some useless, and cause a requirement for new ones. Look at your project and decide if the story editing is over and if it is in its final stages. If you are editing different sequences separately in Final Cut Pro and then adding them together once they are completed then you can dial in to subtitles in Final Cut Pro for each individual Timeline even though they may not all be complete yet.
Adding the Subtitles in Final Cut Pro
First, you are going to want to indentify the words that are to be included in your subtitles and accurate transcriptions need to be made. You will want to then go and set Markers in the Timeline where the blasts of language are occurring on the audio track where you are going to place an associated subtitle. These are where you will know to place the subtitle blocks that you create.
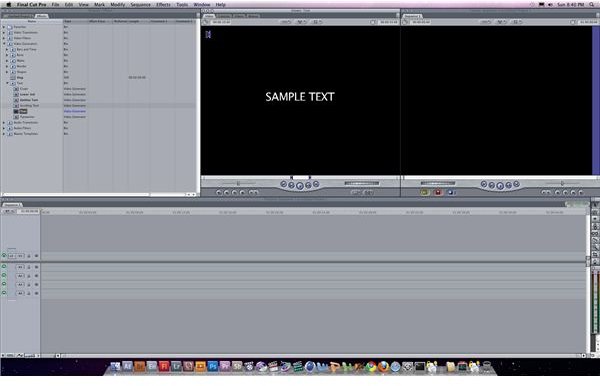
Go to the Browser and select the Effects tab. Go down to the Video Generators folder, and within that you will
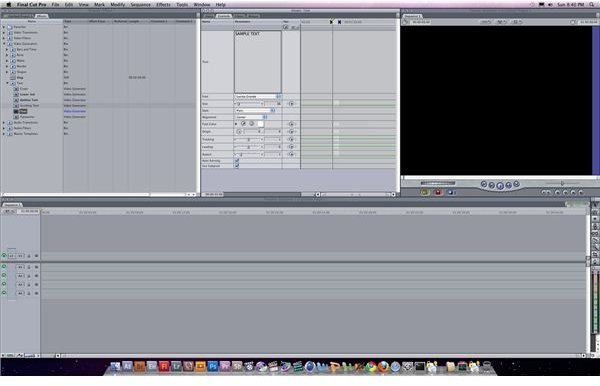
want to select Text . There are going to be a few text options and you are going to again hit the one that is simply titled Text. This will bring the Text generator into the Final Cut Pro Viewer, and when you select the Controls tab you will be able to add the text and make alterations to its font, size, tracking, behavior, and other text qualities. It is here that you will basically create your subtitles in Final Cut Pro, and once you have you will select the Video tab again.
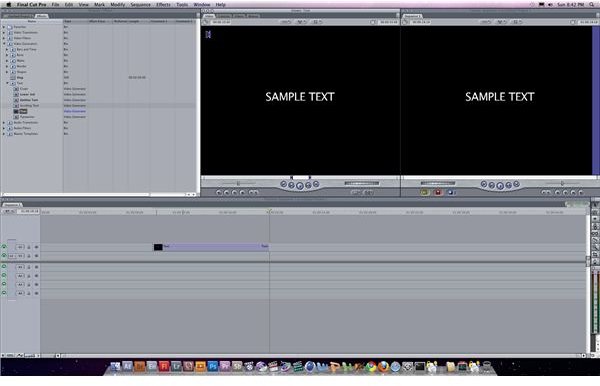
You will click on the video as it appears in the Viewer and drag it down into the Final Cut Pro Timeline where you want it to be, and this should be indicated by the Marker you placed earlier. You will then want to shorten the clip so that it matches what would be a reasonable read time and so that there is room for the following subtitles to fit without overlapping.
Once the selected subtitle is in your Final Cut Pro Timeline where it matches up with the audio you are translating
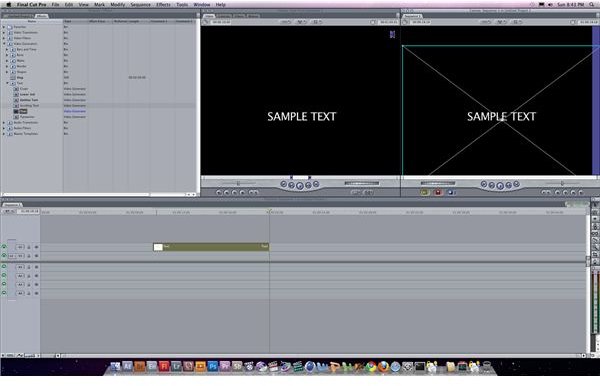
into a visual form you are gonig to want to reposition it as it will be displayed right through the middle of the frame. Select the clip and then go over to the Çanvas. Make sure that the Image + Wireframe has been selected so you can move the position of the text around the frame. Move it to the bottom third of the screen so that it is below the primary action of the frame.
Principles
There are a few things you want to remember when adding text , especially subtitles, to your video project. First, use a Sans Serif font so that it will be easier to read quickly. Make sure to allow the subtitles to stay on the screen longer than it would be necessary for most people to read, that way you are inclusive to all reading levels. Let the text be large enough that it would be readable seven to ten feet away from the screen, which many people may be sitting at.


