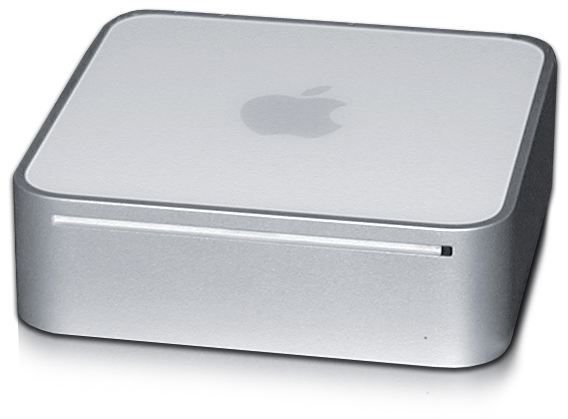
Configure Mac Mini Server software
DHCP Introduction
The Dynamic Host Configuration Protocol (more commonly known as DHCP) is used to automatically assign IP addresses over a network. IP addresses allows computers to connect to a main server and communicate with one another. When a computer connects to a network or server it is represented by an IP address. These must be unique so that no two computers try to access from the same address. When you connect to a server using DHCP, you are automatically assigned an IP address.
If you are a system administrator using Apple Mac computers, then you can implement the DHCP service on the Mac Mini Server software. As the admin you can define the addresses that will be used by connecting computers and other settings.
Setting Up DHCP
Open “Server Admin” to begin with. This is the main administrative tool you use when controlling the functions and parameters of your Mac Mini server network.
Click the “+” icon to load the mini-menu of items you can add. Click “Add Service…”
In the list of available options, click the check box next to “DHCP” to enable it. Click “Save.”
Underneath your Mac Mini Server IP in the left panel, click “DHCP.”
Click “Subnets.” An example subnet range will have already been created. Double-click it to change it.
Change the “Subnet Name” if you wish (this is just for personal reference on your Mac Mini Server.
Enter a “Starting” and “Ending” IP address to choose the IP range. For example set “192.168.1.1” as the starting IP and “192.168.1.50” as the ending IP. Set the “Subnet mask” to something such as “255.255.255.0”.
Click “DNS,” then enter your Mac Mini Server’s IP and host name. Click “Save.”
Click “Enable” and then “Start DHCP” to enable your DHCP service on your network.
What Happens Once DHCP Has Been Enabled?
When one of your network computers connects to the main server it will automatically be assigned an IP address. If you used the above example as an IP range, then the first computer will be assigned to “192.168.1.1”, the second to “192.168.1.2” and so on. This means that all the computers will have access to the network with no conflicts.
The subnet mask you set during setup, is the IP address that the client computer sees when it connects to the server, this hides the Mac Mini Server’s actual IP address.
The DNS information you entered for your Mac Mini allows the subnet computers connect through your Mac Mini Server to the Internet externally. It also routes the relevant external traffic through your network correctly.
Conclusion
DHCP is one of many server configurations that you can run to take full control over your Mac Mini-based server. With DHCP fully set up, any computer that connects to your server will have Internet access. If you ever need to change your configuration options or set up additional DHCP services, you can return to the Server Admin at any time.
References
“Wazza’s Snow Leopard Server QuickStart”, www.wazmac.com/quickstarts/pdf/osx_server/snow_leopard/05_dhcp.pdf. PDF.
