Discover How to Copy Files and CDs to an External Hard Drive

Copy Files to an External Hard Drive
The first step in learning how to copy files and CDs to an external hard drive is to use Windows Explorer to copy or move your files and folders. When your external hard drive is connected to your computer, it functions just as if it were a hard drive inside your computer. This means that you can copy or move files to it from your internal hard drive. The easiest way to do this in Windows is using Windows Explorer. Click on My Computer and browse to the files or folders you would like to copy or move to your external hard drive and then click the “Edit” option on the menu bar. Choose either “Cut” (if you want to move the file or folder) or copy (if you want to create a second instance of the file or folder).
Once this is done, browse to your external hard drive in Windows Explorer.
Click “Edit” on the menu bar and then click “Paste” to place your file or folder onto your external hard drive. If you need to copy files from a CD, you can use this same procedure. Browse to your CDROM drive as your source rather than your local hard drive. If you want to store images of your CDs so that you can make an identical CD later (in case your original gets lost or damaged), you can do that too, but you will need to use a program other than Windows Explorer.
Copy CDs to an External Hard Drive
A nice thing about having an external hard drive is that it gives you the space to store things you ordinarily couldn’t with just your computer’s internal hard drive. For example, if you have important CDROM disks, you can store images of those CDs to your external hard drive. To do this, use a CD burning program such as Nero or InfraRecorder to create an image of your disk. Here is how to do this using InfraRecorder. This is a free program that can be downloaded at https://infrarecorder.org/.
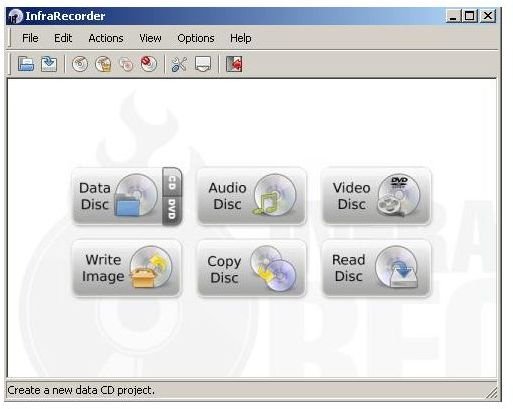
When you start InfraRecorder, Choose the “Data Disc” button, choosing either CD or DVD.
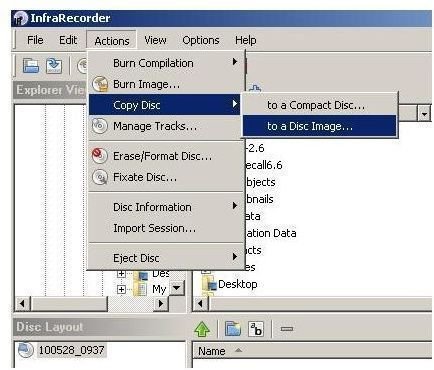
When you get to the InfraRecorder Explorer, choose “Actions” and then “Copy Disc” and then “To a Disc Image.”
Next, choose your source drive. This is the CD or DVD drive where the disc you are copying is located.
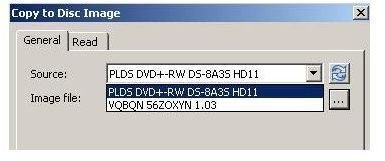
Next, click the button with the three dots to the right of the “Image File” field. This allows you to navigate to a drive and folder of your choice where you want to store your CD image.

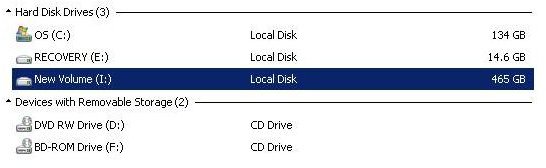
Select your external hard drive and click the “Save” button. You now have a backup image of your CD saved to your external hard drive for whenever you need to make a disk that is exactly like the one you just copied.