Install a Wireless or Bluetooth Keyboard Painlessly
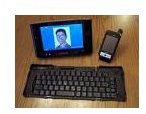
Bluetooth Keyboards
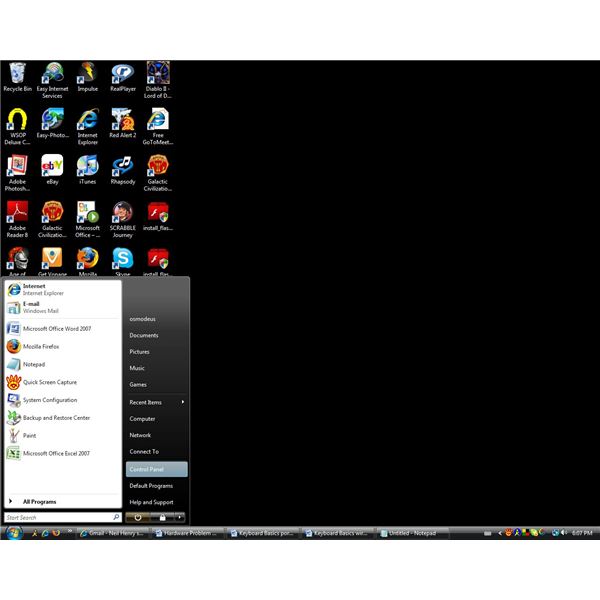
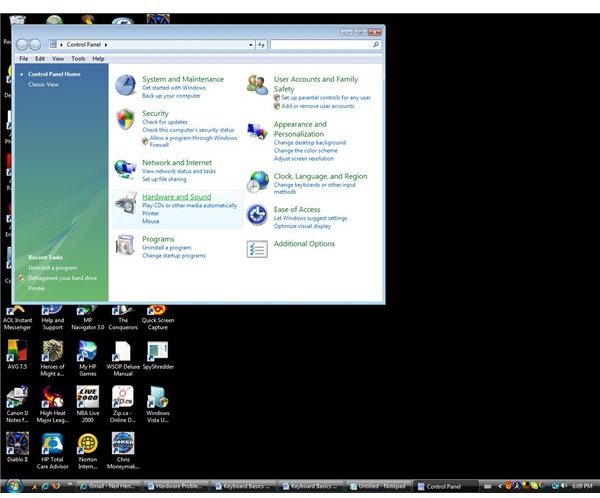
Bluetooth keyboards are a different kind of wireless device. Many laptops and computers will come with an integrated Bluetooth receiver, so there is nothing to attach to the computer. To attach your Bluetooth keyboard to your Vista computer click Start > Control Panel > Hardware and Sound > Bluetooth Devices > Add button in lower left section of the Bluetooth Device screen.
Make sure you have batteries in the keyboard. Click the Connect button located on the keyboard (most times it is found on the underside of the keyboard) so that Windows can see the keyboard and mesh the keyboard with the computer. Select My Device Is Set up and Ready to Be Found and then click Next.
Your keyboard will now show up in the Add Bluetooth Device Wizard screen. Highlight the keyboard and select Next. When prompted, pick Choose a Passkey for Me and select Next. The computer will create and show you the passkey. Enter the passkey you see on your new Bluetooth keyboard, making sure not to use the number pad on your Bluetooth keyboard when doing so. You won’t see any characters appear when your entering the passkey, so if you make a mistake, use the backspace button to go back and try it again. You must enter the passkey within thirty seconds, so if you take longer than the maximum time select Back and then Next to try again. After you finish typing the passkey your Bluetooth keyboard should be connected to the computer, just select Finish and follow the prompts that appear on the monitor.
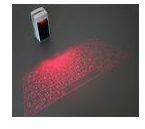
Wireless Keyboards
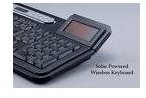
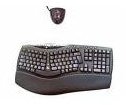
Wireless keyboards have been growing in popularity and use around the office and home in recent years. Connecting a wireless keyboard is not any harder to achieve then attaching a USB or PS/2 keyboard. Actually, you connect the three in a very similar manner. The only real difference to connecting a wireless keyboard is that you attach a wireless receiver to the computer instead of attaching the keyboard.
The wireless keyboard operates on battery power because it has not attached to the source of power - the computer via a USB or PS/2 port. You will need to put batteries in the wireless keyboard before connecting the wireless receiver. Consider using rechargeable batteries, keeping extra charged batteries available, and using a battery charger that can be plugged into a power plug. This way work never stops for long if the batteries die, and you will always have extras at the ready.
Once the batteries are in place, attach the wireless keyboard in a Vista computer by clicking Start > Control Panel > Hardware and Sound > Wireless Devices > Add button in Wireless Devices Window. Remember to place your wireless receiver over 10 inches from your computer and monitor to prevent interference from being an issue.
To Windows your wireless receiver appears as if it is a keyboard, so you will not need to add any additional software to get the wireless keyboard to work as it should. You will need to once reinstall any software associated with particular advanced feature to work with the feature in question.
For more tips on connecting keyboards, check out Installing Keyboards; Locating Ports and Connecting the Keyboard.