Have you purchased an iPad or received one as a gift? If so, you are probably excited to use your new gadget but might not know where to begin. This article will tell you how to set up an Apple iPad in iTunes and configure your iPad’s settings.
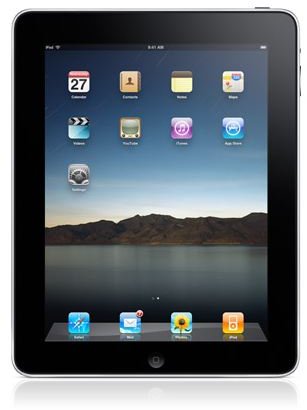
Your iPad’s Features
Are you wondering how you set up an Apple iPad? Then you’ve come to the right place.
When you purchase your iPad , you face the decision of which applications to install, which media files to sync, and which settings you want to use. The iPad’s functionality is broad, and the settings that you choose will ultimately depend on how you will use it. The entire process of setting up your Apple iPad involves choosing your settings in the iOS software and configuring the device in iTunes, including choosing what files to sync.
How to Set Up an Apple iPad in iTunes
After you remove your iPad from its box, you have to connect it to your computer and configure it in iTunes before you can use it. After you turn on your iPad by pressing the button on the top of the casing, the screen displays a message to connect your iPad to iTunes.
Connect your iPad’s sync cable to the bottom of it and the other end to a USB port on your computer. Open iTunes to view the welcome message for your iPad. Follow the instructions to accept the licensing agreement, set up your iTunes account and to configure MobileMe if applicable. You will also have the chance to choose whether you want to set up the iPad as a new device or use a previous backup. Next, you can choose a name for the iPad and choose what files you want to automatically sync each time you connect the iPad. After the process completes, you can now choose what applications, songs, movies, podcasts, books and photos that you want to sync. When you are happy with the results, click “Sync” to finish the initial configuration.
How to Set Up an Apple iPad’s Software
Now that your iPad is ready to use, swipe the “Slide to Unlock” button on the screen to start configuring its iOS software.
Before you can install your own apps, check your email or visit websites, you need to set up an internet connection. Tap “Settings” on your iPad’s home screen and choose either “Wi-Fi” or “Cellular Data.” If you have a version of the iPad that only supports Wi-Fi, then you won’t have the “Cellular Data” option at all. Tap your Wi-Fi network’s name and enter the password to connect. If you want to set up 3G cellular data usage, tap “Cellular Data” and enter your information requested. This will include payment information and whether you want the 200 MB data package for $15 a month or the 2 GB data package for $25 a month.
While you are on the “Settings” screen, now is the time to personalize your iPad. Use the “Mail, Contacts, Calendars” setting to configure your email accounts for the Mail application and use the “General” option to configure a password, auto-lock options, location services and to enable Bluetooth if needed. “Brightness & Wallpaper” is where you want to go to choose settings for how your iPad’s screen looks.
What’s Next?
You can now use the App Store to download more applications to your iPad , surf websites with Safari, enjoy your multimedia collection, and much more. If you ever decide to change any settings in the future, the “Settings” option is where you need to go. Depending on what applications you install, you will be able to configure your iPad to display alert messages when new application events occur and will be able to multitask with supported applications. At this point, you are ready to enjoy your iPad and all it has to offer.
References
All references taken from the Apple iPad using iOS 4.3
Apple iPad’s official website: https://www.apple.com/ipad/


